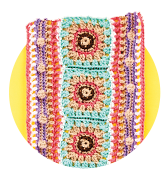
Welcome to our Sampler Blanket Crochet-Along! Our designer Jackie Carreira shows you how to make this four-part blanket, which really knocks the socks off anyone who sees it. Read on to find out more…
Part One
Your sampler blanket is worked from a central strip of squares and will steadily grow outwards from each side. Make sure to check your tension – your squares need to be 6cm x 6cm. If yours is bigger, your work may be too loose and you should switch to a smaller hook size. Too small? Change to a larger hook size. Enjoy part one.
Part Two
Here’s part two! You’ll be expanding your blanket from both long sides, so grab part one and new yarns to get started. And don’t worry too much if you have a couple of wonky edges at this stage, because you won’t need to block the blanket until all four parts are complete.
Part Three
We hope you’re enjoying seeing your blanket come to life. For part three, you’ll be adding pastel-coloured detailing on both long sides. Concerned about the wonky edges? You don’t need to be! You’ll be blocking all four parts next time.
Part Four
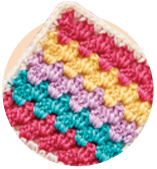
This is it: the final part of our sampler blanket crochet-along! We hope you’ve enjoyed seeing your blanket come together, and now it’s time for those all-important finishing touches. Work a few more rows, then move on to the edging, eye-catching granny triangles and fringing. For an even more sumptuous look, carry the fringing on down the long sides of the blanket using yarn from your stash.


 Crochet-along
 Christmas
 Granny Squares
 Toys
Toys
 Amigurumi
 Baby
Baby
 Homewares


Share